Description
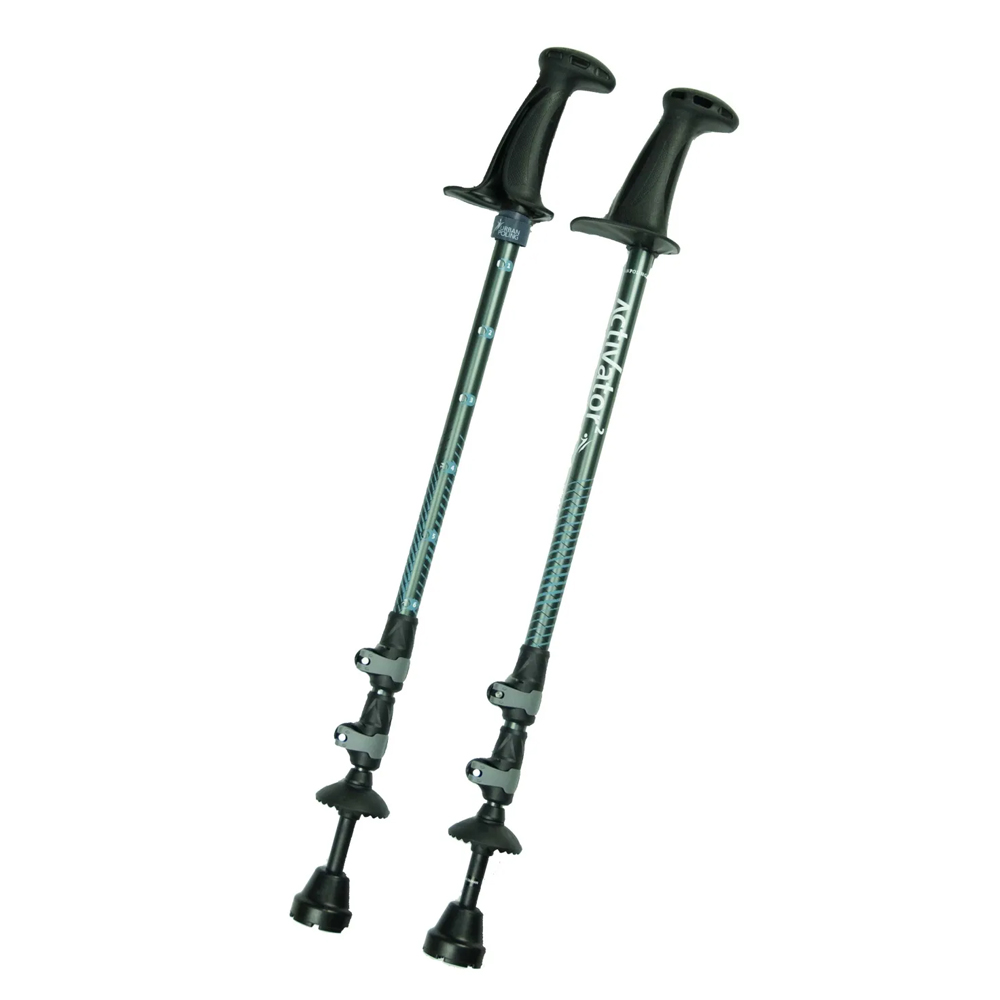
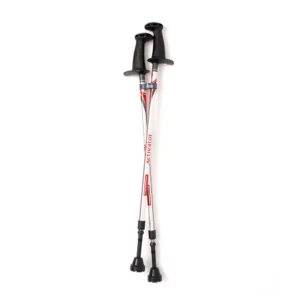
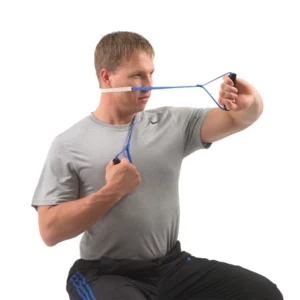
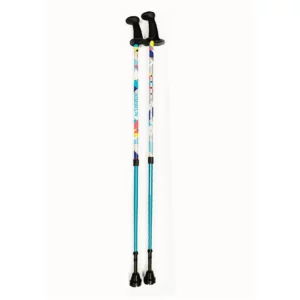
ACTIVATOR2 Poles, recommended by leading surgeons, physicians and therapists,are designed by an occupational therapist & gerontologist specifically for rehab and long-term conditions. Our unique patented CoreGrip was designed specifically to improve strengthening, stability and off-loading with your safety in mind. ACTIVATOR2 Poles are utilized extensively with pre/post hip/knee surgery, Parkinson’s, stroke, MS, pain management, soft tissue injuries, cancer rehab, spinal conditions and older adults.
Features:
- Patented, ergonomic Coregrip designed for core strengthening while reducing strain on wrist
- Bell shaped tip for stability
- Wide ledge instead of a strap to minimize the risk of injuries
- Anti-vibration features to minimize stress on joints
- Adjustable for user heights up to 6’4″ (193 cm)
- Trekking baskets
- 3-sectional and collapsible for travel – 20% shorter than 2 sectional poles to 25” (63 cm) vs 29″ (73 cm)
- Flip and button lock – 225 lbs (102 kg) of weight-bearing capacity per pole
- User guide and online video instruction on ACTIVATOR technique
- Adjusting Your ACTIVATOR® Poles
When you first get your poles you will need to adjust them for your height.
Step 1: Stand tall with your poles upright and relax your arms so that your elbows rest at a 90-degree angle. This is the correct pole length for your height.
Step 2: Notice the perforated holes on the top portion of the pole. Pull the bottom portion of the pole downward and turn it until the silver stripe lines up with the holes. Continue to pull down on the lower part of the pole until the button pops into the correct hole for your height. You may need to adjust the pole slightly up or down before the button locks securely into place.
Adjusting Your ACTIVATOR® 2 Poles
Extend poles: Open both flip-locks tabs (grey). Pull below flip-lock to extend the middle and lower sections. Lower section may be stiff to pull initially.
Set pole length: Adjust the pole length so that you can stand with your elbow bent at slightly less than a 90 degree angle with your hand resting on the ledge of the CoreGrip and the bell tip resting on the ground.
Secure button lock A-B: Looking at holes A and B in the middle section, turn the lower section of the pole until you see the white stripe in the holes marked A and B. Pull on the lower section of the pole until the button locks into hole A or B.
Secure button lock 1-6: Repeat above securing the button lock in one of the holes marked 1-6 (depending on appropriate level for your height) in the upper section. Confirm pole length and close flip-lock tabs. Collapsing: open the flip-lock tab, push the button lock and at the same time push in the section Close flip-lock tab.


